The Shiny Assassin - Breech Loaded Copper Pneumatic (Comp.)
Posted: Thu Aug 03, 2006 12:53 pm
The Shiny Assassin
This is the final design of this copper pneumatic, it has been through many stages using the same valve but I am happy with its design now.
The gun is made mainly from copper and brass and most parts are soldered together or by using compression joints. The reason I chose copper over PVC is copper looks cooler, I find it easier to work with, I’m scared PVC with blow up and pressure rated PVC costs a lot in the UK. The copper and other things could easily take +300PSI however the Quick Exhaust Valve and Blowgun are only rated to 10BAR / 145PSI.
This design has interchangeable barrels & chamber, which means it, can go from a fun weekend gun shooting at quite high power and quite quickly to a high power beast for penetration records and distance shooting. The muzzle velocity for this gun with a 10g ball is 135m/s (443fps), but with the larger chamber and barrel can reach upto 162m/s (532fps) and with a 5g potato slug 192m/s (630fps).
The design I use most is the one shown in the first picture as it is quick to load and fire and very comfortable to hold.
Chambers: 650mm x 28mm + 250mm x 22mm (425.2ml)
2x 1000mm x 22mm Running Parallel (640.9ml)
Barrels: 1000mm x 22mm (320.4ml)
2000mm x 22mm (640.8ml)
750mm x 15mm (102.6ml)
1000mm x 28mm (531ml)
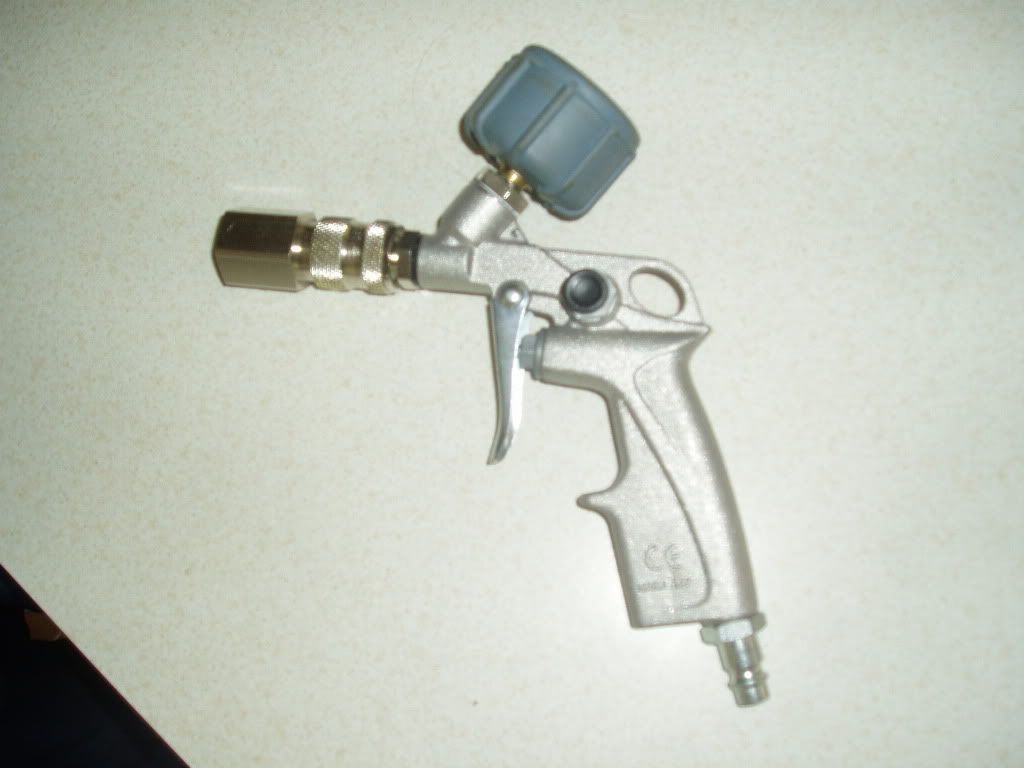
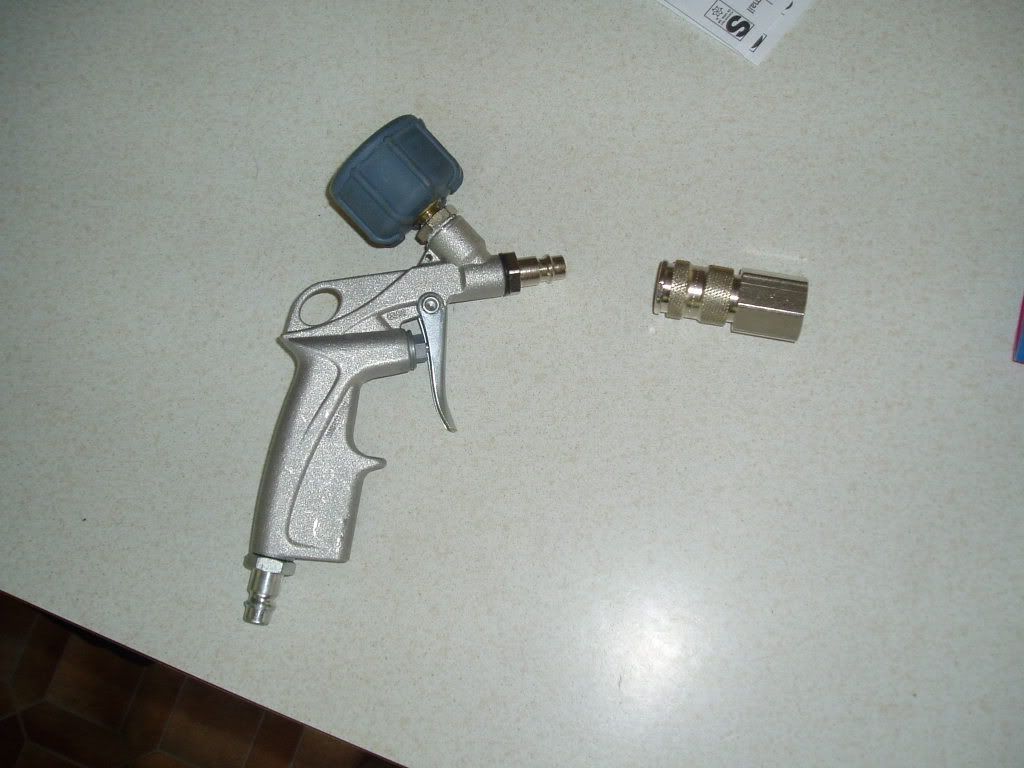
Valve: 1/2" BSP Quick Exhaust Valve set-off by a 1/4" BSP Blowgun
Gas Source: Compressor - 10BAR / 145PSI
Special Features: Bolt Action Breech Loaded, very quick & easy to load, can get about 10 rounds per minute. Interchangeable barrels. Interchangeable chambers.
Here are some pictures.
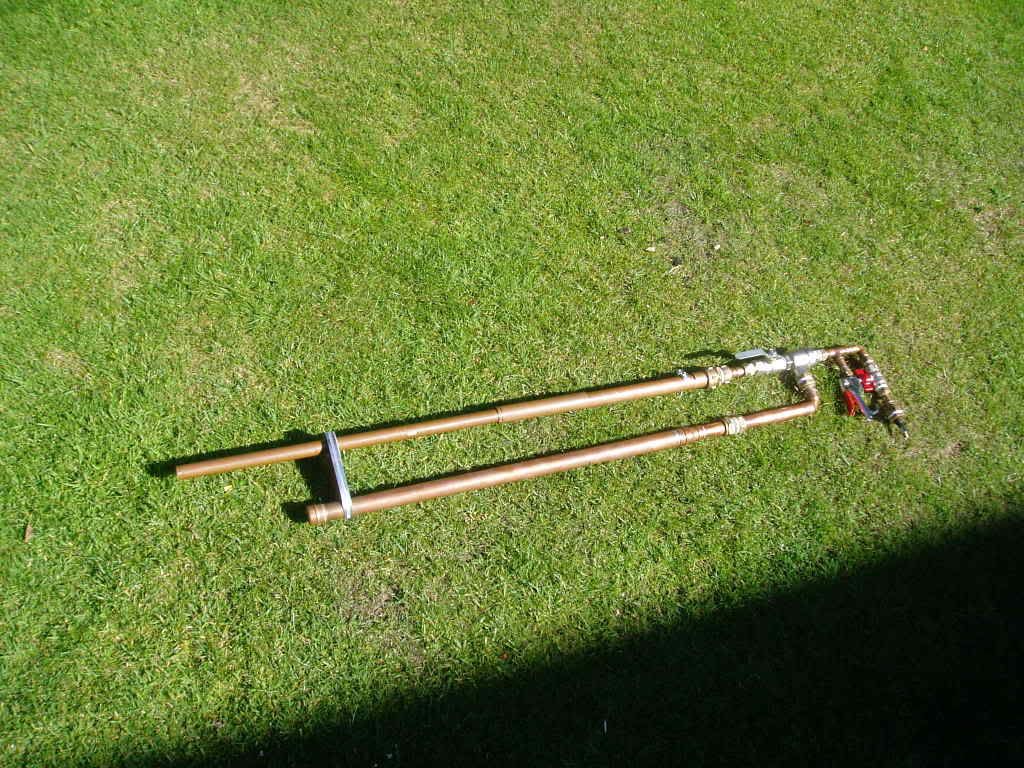
This is the design for the gun with the 1000mm x 22mm barrel and 650mm x 28mm + 250mm x 22mm chamber on.

This is the whole gun with the 1000mm x 22mm barrel and 650mm x 28mm + 250mm x 22mm chamber on.
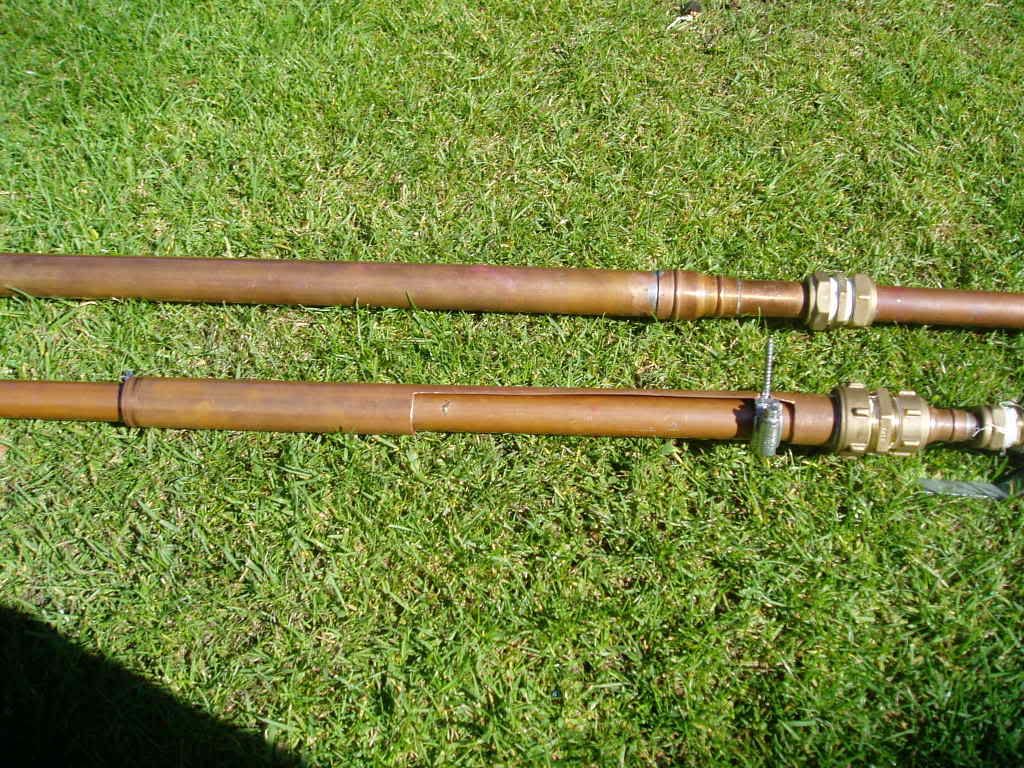
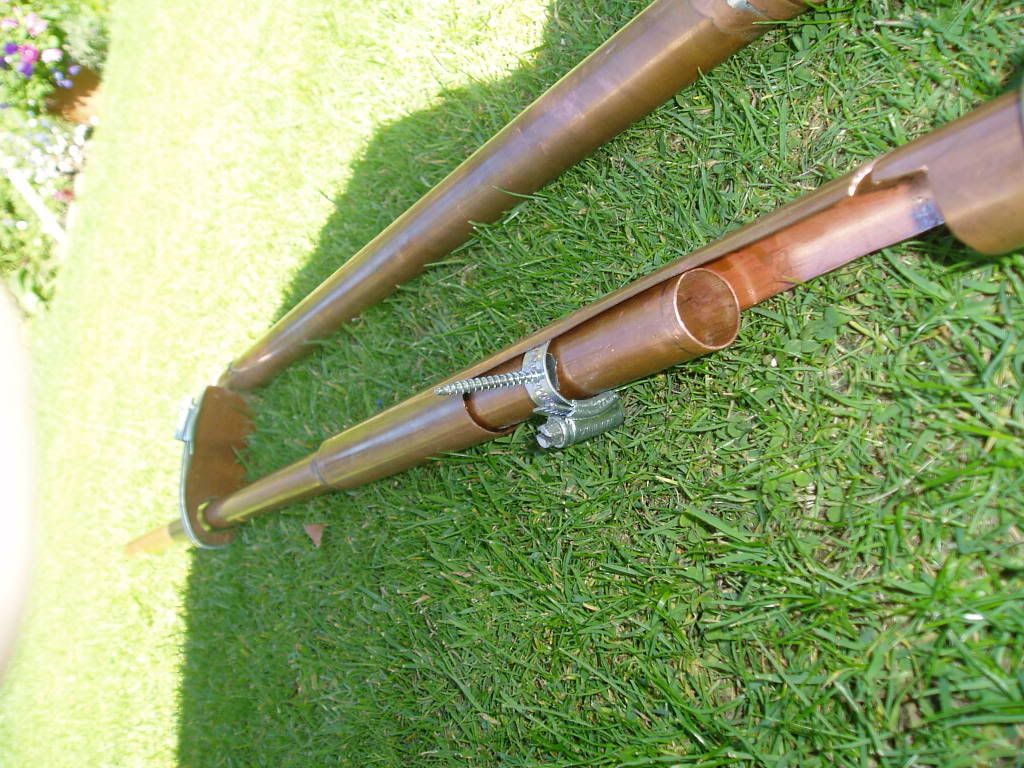
A picture of the breech when it’s closed and then open.
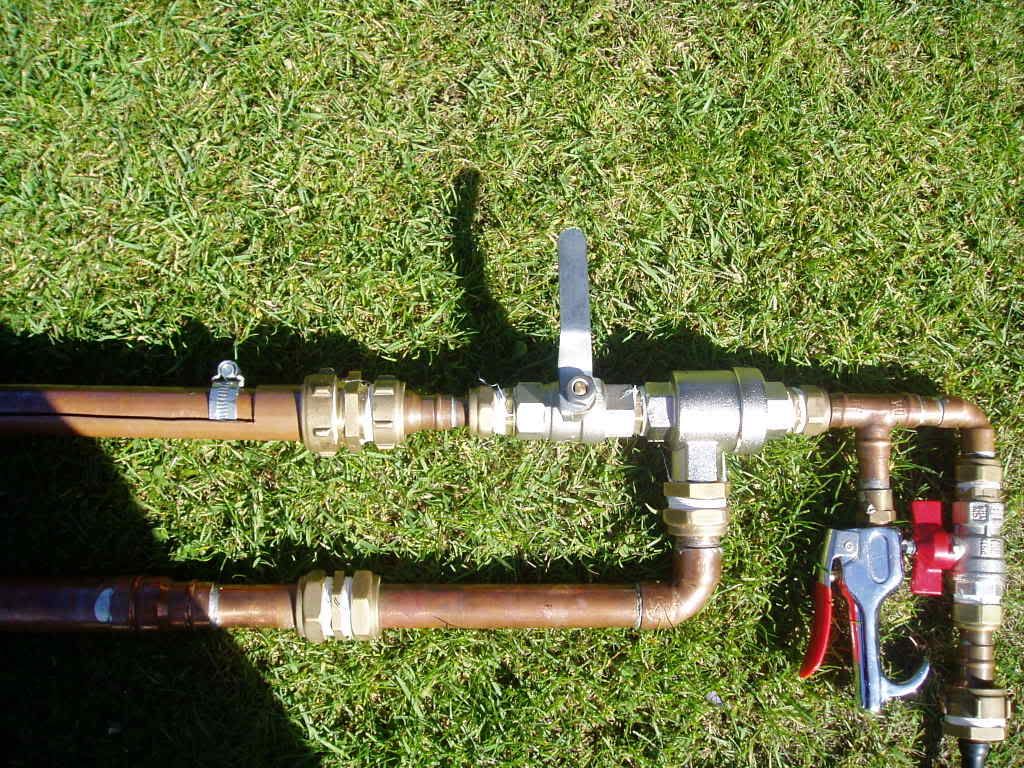
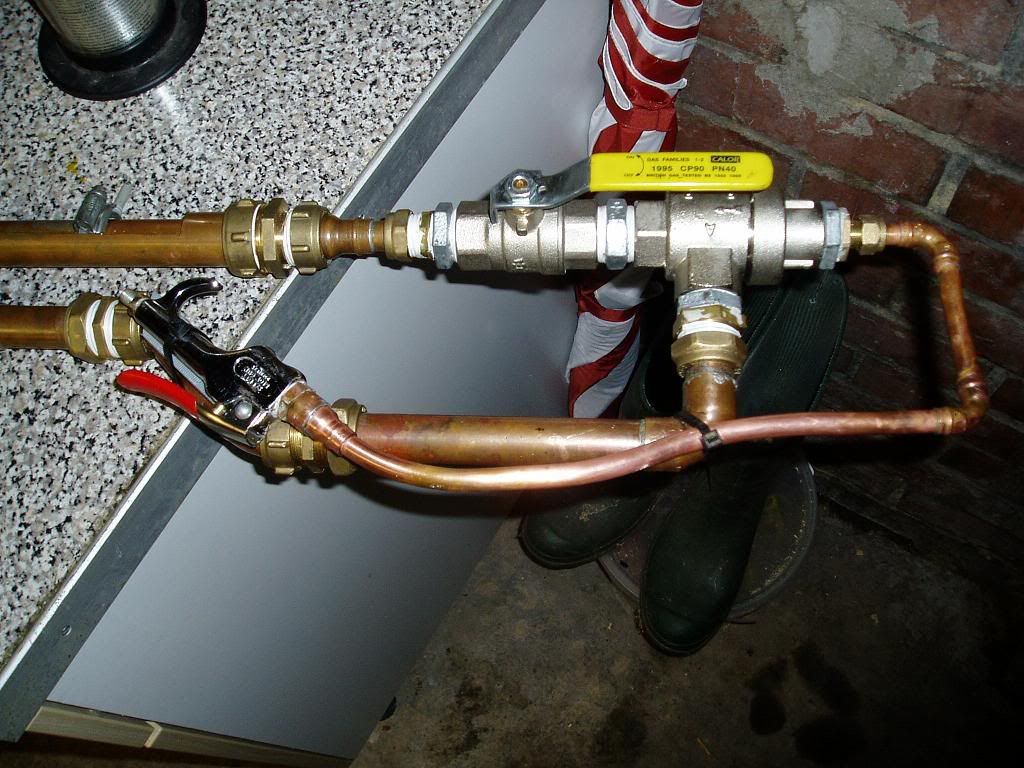
This is the valve system, the smaller ball valve at the back is so the QEV is not set of when I unscrew the compressor from the Schrader valve and the large ball valve at the front is a safety so when it is closed as it is in the picture it won’t fire.
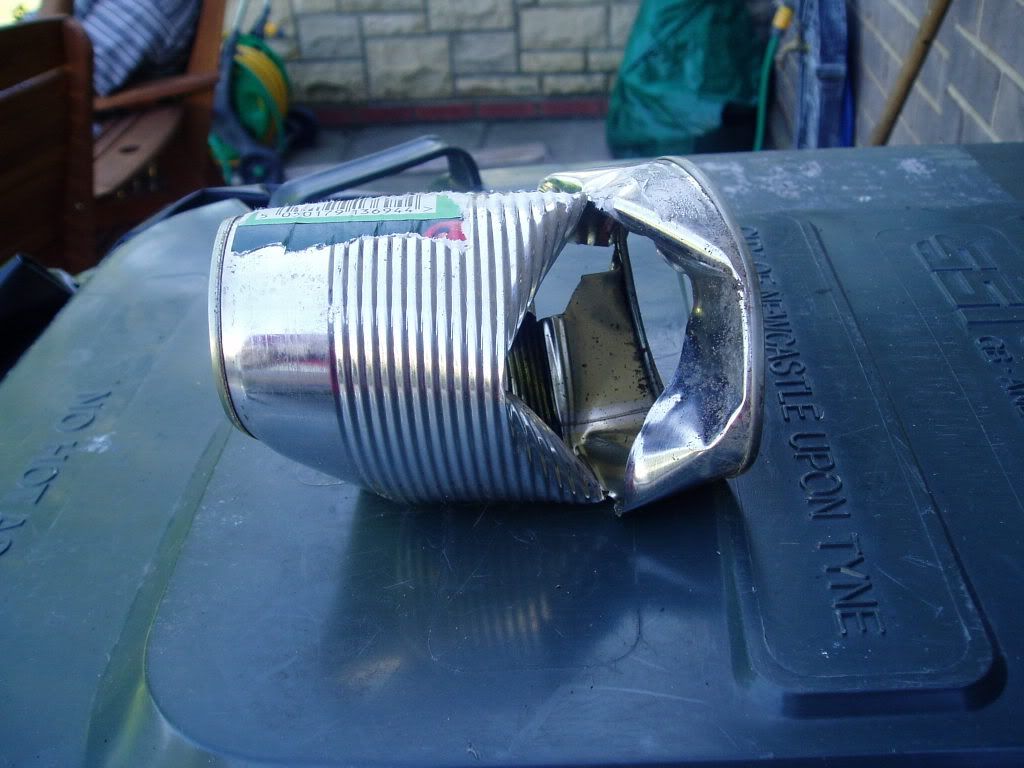
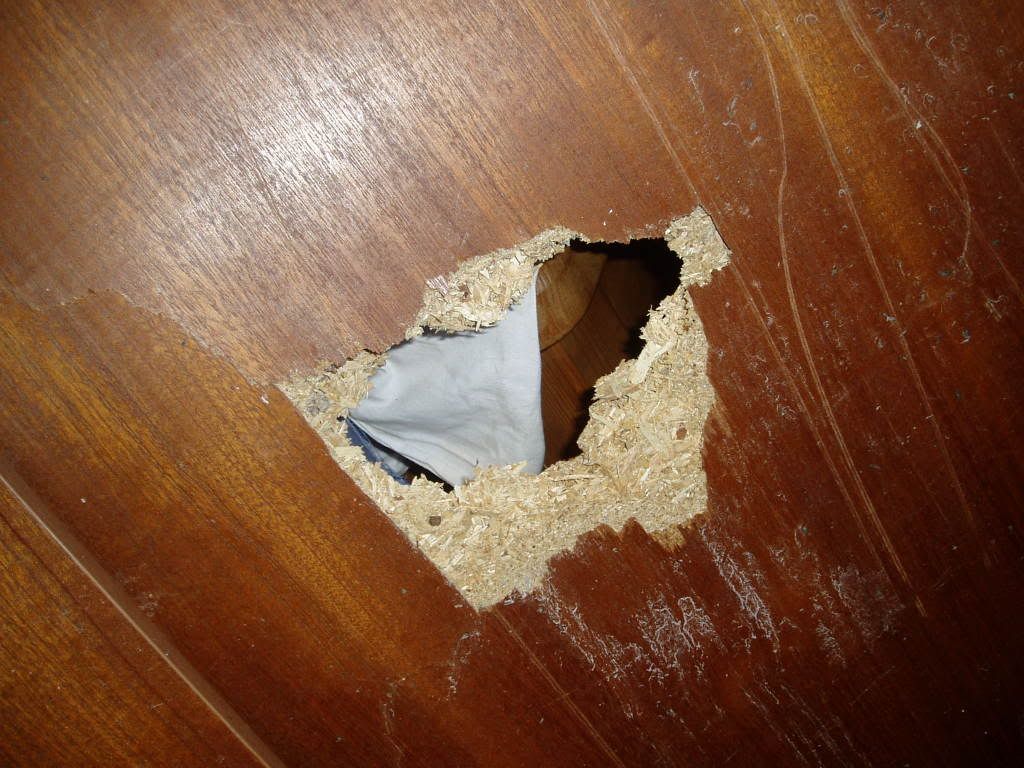
This is the damage to a steel can with a potato and ¾” chipboard with a potato.
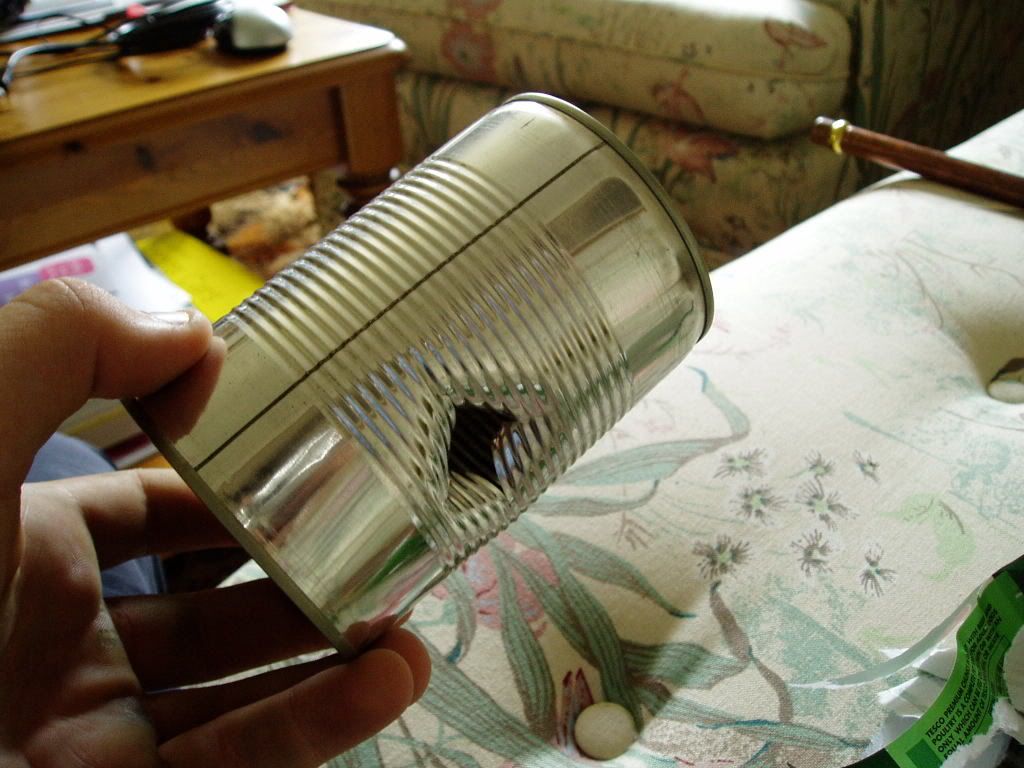
Another steel can but using the 15mm barrel.
Videos:
With the 2x 1000mm x 22mm Running Parallel chambers and 2000mm barrel, the only reason the potato didn’t get right through was because of the wall stopping it, as you can see it did go through as there are hole near the bottom of the ¾” chipboard.
http://s59.photobucket.com/albums/g294/ ... relwmv.flv
Shooting a piece of ¾” wood and then shooting a tin, this is a slightly older version and the gun is a lot more powerful now.
http://video.google.co.uk/videoplay?doc ... &q=spudgun
This is the most recent version of the gun:

THE GUN NOW HAS A 3/4" QEV.
Now Iv changed the back into a bullpup design and the rear is a stock.

This is the final design of this copper pneumatic, it has been through many stages using the same valve but I am happy with its design now.
The gun is made mainly from copper and brass and most parts are soldered together or by using compression joints. The reason I chose copper over PVC is copper looks cooler, I find it easier to work with, I’m scared PVC with blow up and pressure rated PVC costs a lot in the UK. The copper and other things could easily take +300PSI however the Quick Exhaust Valve and Blowgun are only rated to 10BAR / 145PSI.
This design has interchangeable barrels & chamber, which means it, can go from a fun weekend gun shooting at quite high power and quite quickly to a high power beast for penetration records and distance shooting. The muzzle velocity for this gun with a 10g ball is 135m/s (443fps), but with the larger chamber and barrel can reach upto 162m/s (532fps) and with a 5g potato slug 192m/s (630fps).
The design I use most is the one shown in the first picture as it is quick to load and fire and very comfortable to hold.
Chambers: 650mm x 28mm + 250mm x 22mm (425.2ml)
2x 1000mm x 22mm Running Parallel (640.9ml)
Barrels: 1000mm x 22mm (320.4ml)
2000mm x 22mm (640.8ml)
750mm x 15mm (102.6ml)
1000mm x 28mm (531ml)
Valve: 1/2" BSP Quick Exhaust Valve set-off by a 1/4" BSP Blowgun
Gas Source: Compressor - 10BAR / 145PSI
Special Features: Bolt Action Breech Loaded, very quick & easy to load, can get about 10 rounds per minute. Interchangeable barrels. Interchangeable chambers.
Here are some pictures.
This is the design for the gun with the 1000mm x 22mm barrel and 650mm x 28mm + 250mm x 22mm chamber on.

This is the whole gun with the 1000mm x 22mm barrel and 650mm x 28mm + 250mm x 22mm chamber on.

A picture of the breech when it’s closed and then open.


This is the valve system, the smaller ball valve at the back is so the QEV is not set of when I unscrew the compressor from the Schrader valve and the large ball valve at the front is a safety so when it is closed as it is in the picture it won’t fire.

This is the damage to a steel can with a potato and ¾” chipboard with a potato.


Another steel can but using the 15mm barrel.

Videos:
With the 2x 1000mm x 22mm Running Parallel chambers and 2000mm barrel, the only reason the potato didn’t get right through was because of the wall stopping it, as you can see it did go through as there are hole near the bottom of the ¾” chipboard.
http://s59.photobucket.com/albums/g294/ ... relwmv.flv
Shooting a piece of ¾” wood and then shooting a tin, this is a slightly older version and the gun is a lot more powerful now.
http://video.google.co.uk/videoplay?doc ... &q=spudgun
This is the most recent version of the gun:

THE GUN NOW HAS A 3/4" QEV.

Now Iv changed the back into a bullpup design and the rear is a stock.

