The Guillotine
Posted: Sun Apr 29, 2007 7:24 pm
The Guillotine
Click for full album
Stats:
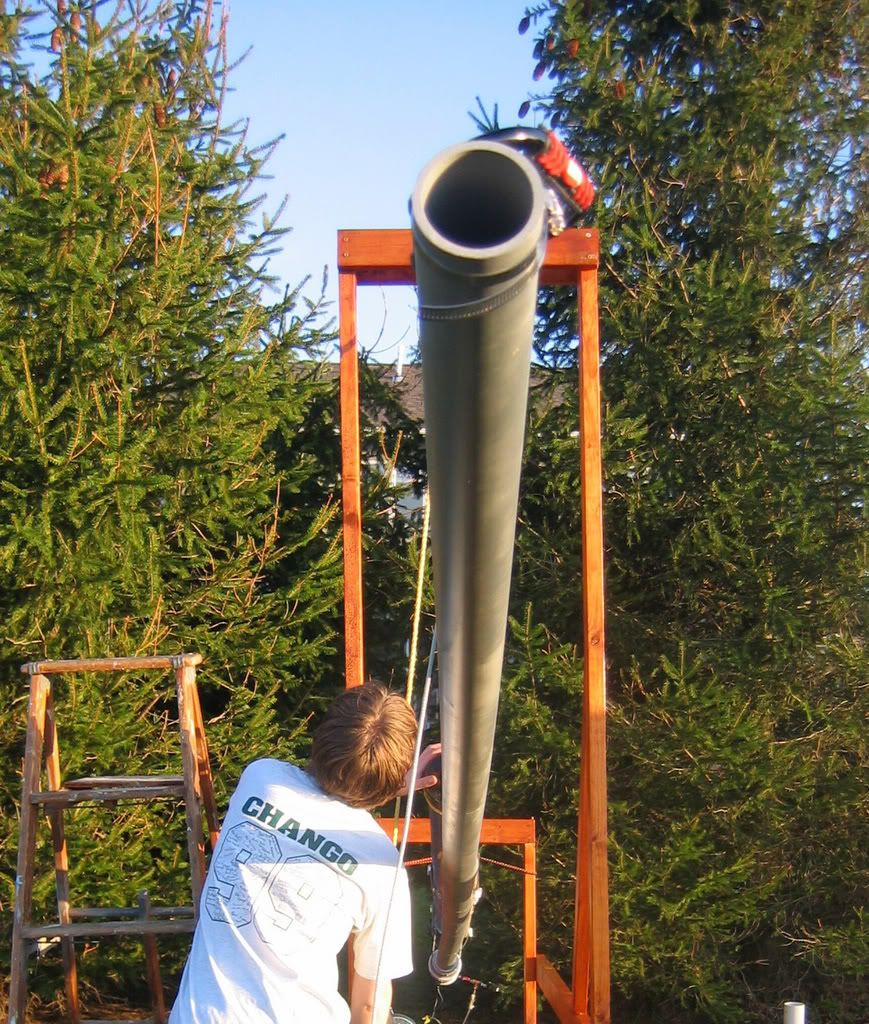
Chamber: 4" x 10' PVC 1510 cu in
Valve: Mk IV.5 Barrel-sealing 3" piston
Pilot: 1" modded sprinkler valve piloted by electrical 3/4" RainBird sprinkler valve
Pilot Volume: ~36 cu in
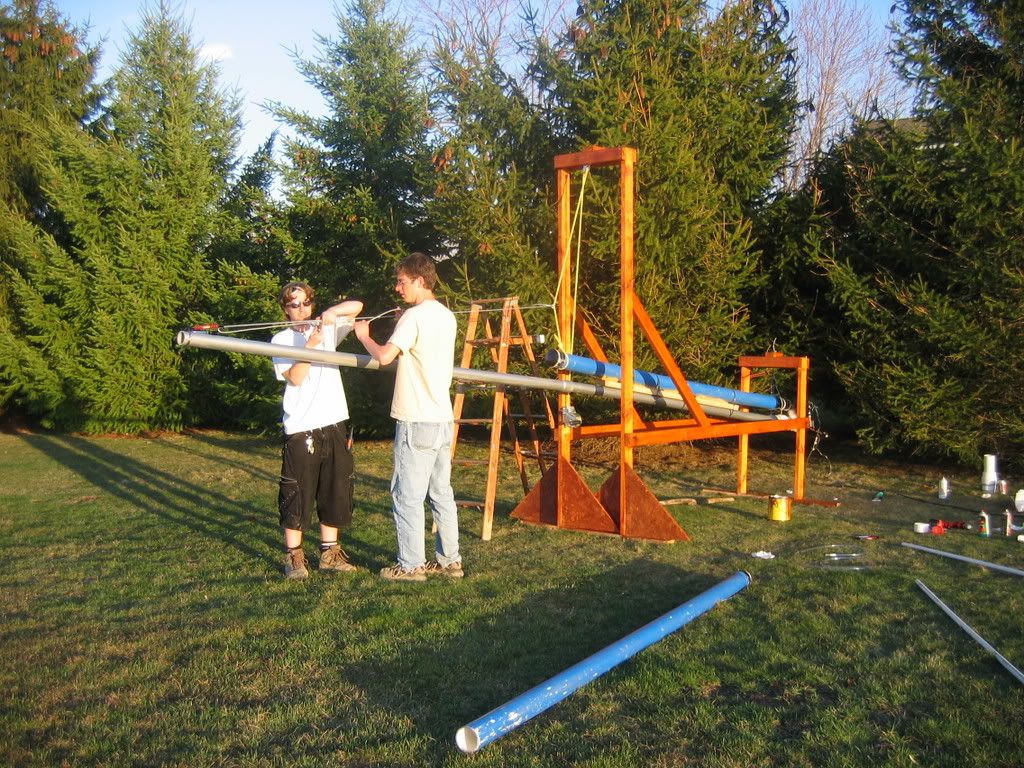
Barrels: 2.5" x 20' PVC 1180 cu in and 3" x 10' PVC 850 cu in
Operating Pressure: 40-100 psi
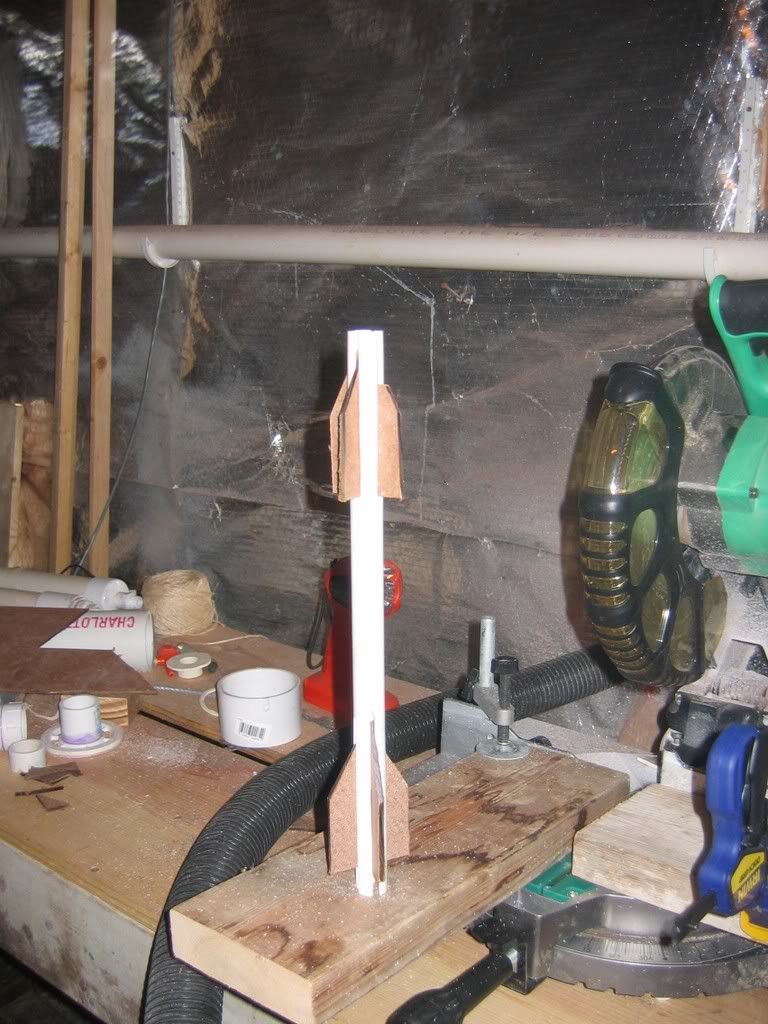
Ammo: Finned PVC rockets with metal tips
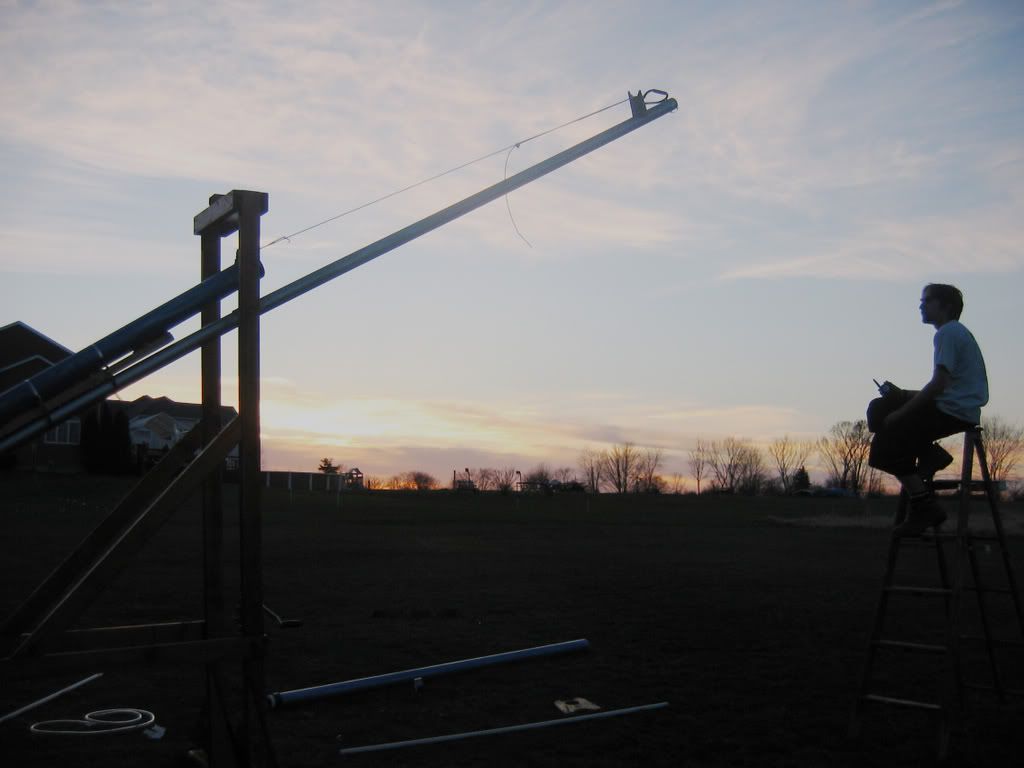
Stand: Bungee-dampened suspension system with boat winch to control elevation. This actually helps out tremendously when dealing with recoil (the muzzle energy is 4000 J at the LOW end) and after each shot it sways back and forth harmlessly, the bungees do a great job of absorbing the recoil. And a nice mahogany-cherry stain.
Performance: Maximum range of 1800 feet (conservative) at 70 psi using the 2.5" x 20' barrel. Ammo was 2' long .5" wide finned PVC rocket with metal pipe tip (using the electrical tape piston, which also broke the valve - see The Cannon Story). Without the taped piston, shots usually traveled about 1000 feet.
More Pictures:

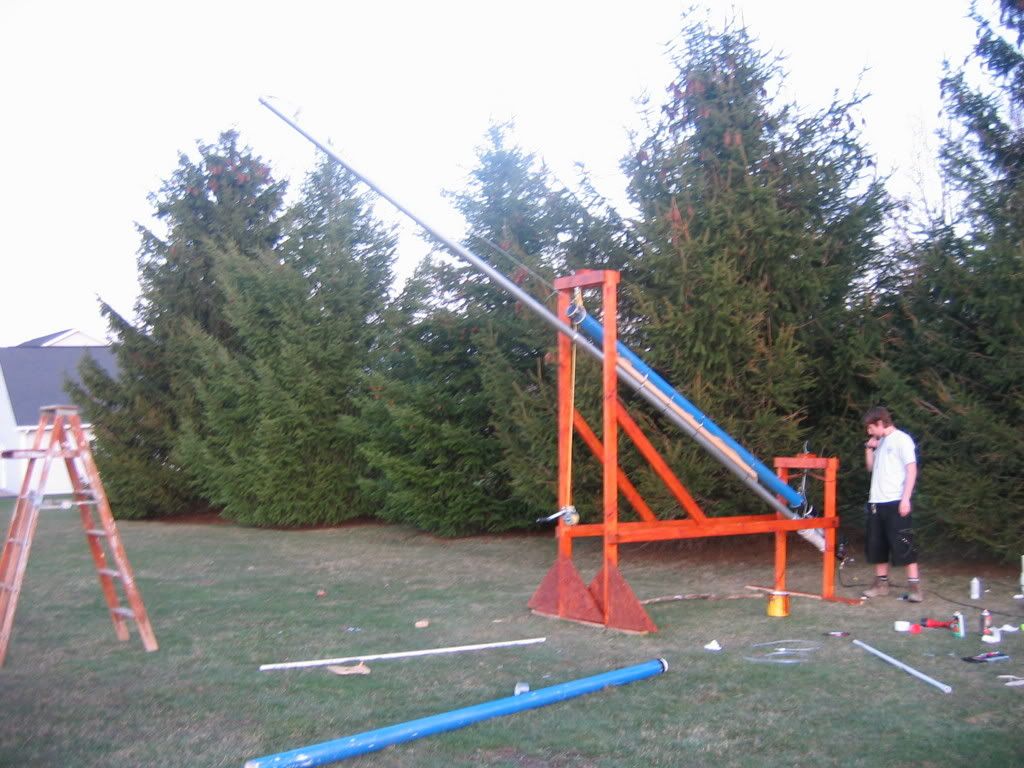

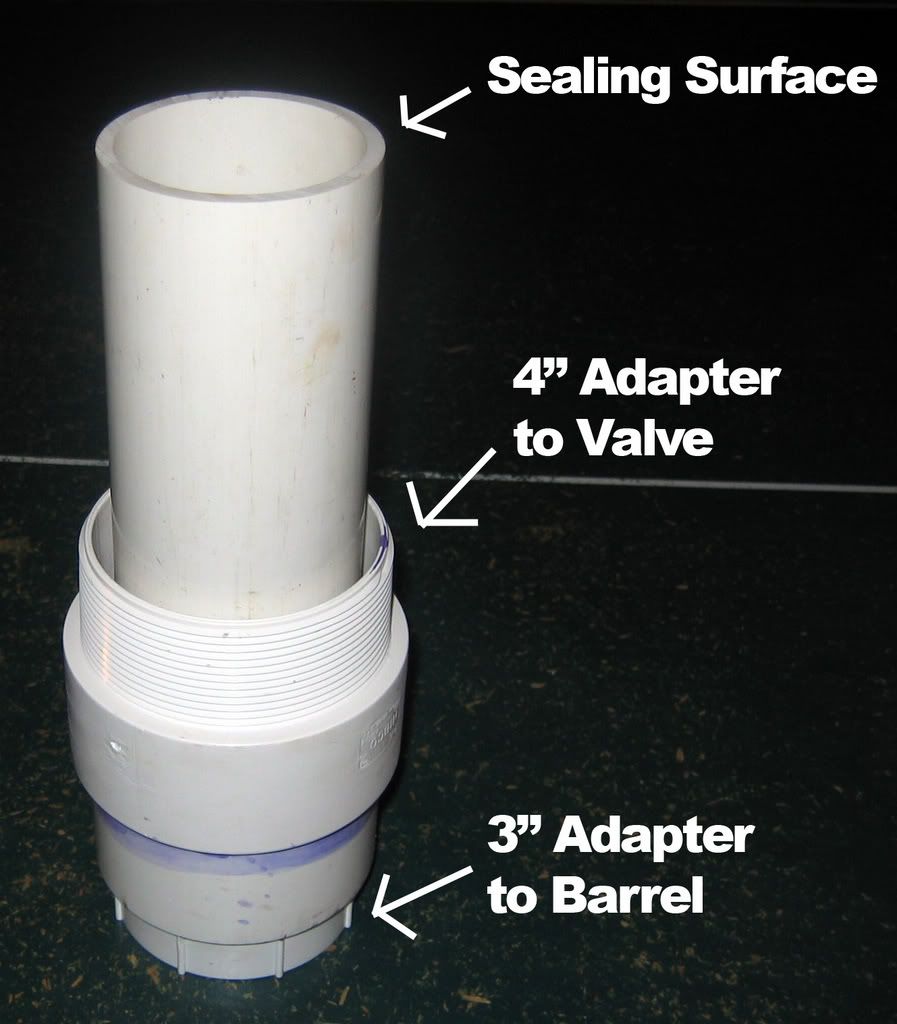
This is the bulkhead, instituted starting with the Mk. IV valve to make the process of adjusting the inner sealing surface easier and just make the valve more accessible. This modular capability has helped SO much and has saved at least one rebuild, perhaps two.
http://s152.photobucket.com/albums/s161 ... CF1272.flv
Video: You can't see it, but you can probably hear the piston shattering the end of the valve.
Click here to view the rest of the album
The Cannon Story
What seems like an eternity ago, perhaps more like a year and a half, n00b and I started work on a large 3" porting piston cannon. We thought it would be a straightforward summer project. Two summers later, we're still straightening out bugs. But that's invention for you. Construction pretty much broke itself down into stages, the failure of each valve led to new innovations and different approaches.
Mk. I
Much of the cannon's bits were built at this stage. The 3" barrel, the chamber, the fill system, pilot (at the time just an electric 1" valve) all pretty much carried through the whole project. The compressor I had from a previous spudgun. Due to a lack of machining ability, we've always have trouble with two bits: The valve housing itself and the piston. We built it like a coax cannon with a Wye as the chamber, which extened into the rest of the chamber. We used a 3" endcap with neoprene surface as the piston. Mk. I flat out didn't seal.
Mk. II
Essentially the same design, used the same piston from before. Sealed to 10 psi on a good day, but leaked so terribly it essentially didn't seal at all. We made the mistake of painting this one before testing it. D'oh. It ended up as a combustion cannon .
.
Mk. III
This valve we experimented with interior sealing surfaces (on the pipe exposed to the piston) This worked, actually very well, but we never glued down the sealing surface, and it kept shooting it after each shot, and each shot had to be completely reset. So we tried gluing it down. It stopped sealing. I tried to rebuild it by chiseling out the front end, ended up smashing the whole front end. We cut off the back half of it and used it on the Mk. IV.
Mk. IV
This was a radically different approach to valves from what we had been taking. I chose to make the entire front half removable, which added to the cost and complexity of the valve, but it saved far more effort in the long run. It allowed us to properly make a reverse sealing surface, which worked. Also, in this valve the pipe goes halfway through the opening of the Wye, allowing far greater airflow. We made a new piston using a coupler, LOTS of sanding, a 4" grind plate for angle cutters, a neoprene pot holder, and a pool noodle bumper. This valve worked through all pressure ranges, was repeatable, it was a godsend compared to what we were used to. We build the gantry, which gave the cannon its name, because it looks like an honest to god guillotine, and started to paint the valve. Crap...we might jinx it....so we decided to only paint half. In hindsite, even that was too much. This is also when we built the 20' barrel. We were getting 1000 feet consistantly, but the actuation time on the valve was HORRIBLE. It would vent out of the pilot for 1-2 seconds before triggering the piston. By then, only half the pressure made it out the barrel.
Mk. IV.4
We tried our hand at making an o-ring piston. It work for two shots, then de-laminated the grind wheel. So we went back to the old piston. This time we put one layer of electrical tape to serve as an o-ring. It worked amazingly well. Too well. On the maiden firing, the piston shot back and shattered the fill system. But it got 1800 feet (Google Earth said 1880 approx. using landmarks, so 1800 feet to be conservative) so we were happy. We rebuilt the fill system, went to do a damage shot, and ended up cleaving the entire back half of the valve off. This was at 50 psi. So it's back to the drawing board for Mk. V (always a lucky number for me, so who knows), but as it stands, top range 1800. Our next goal is 1/2 mile. We are going to go for a much lighter piston and smaller piston travel, this should help the issue of self-destruction.
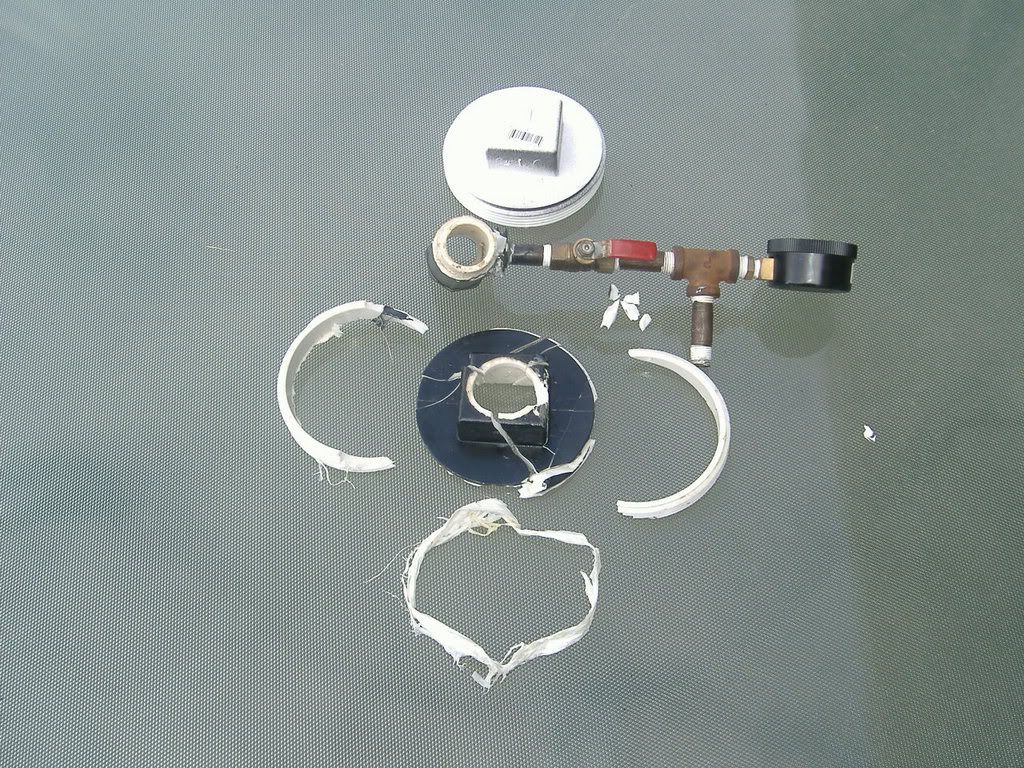
Shattered fill system
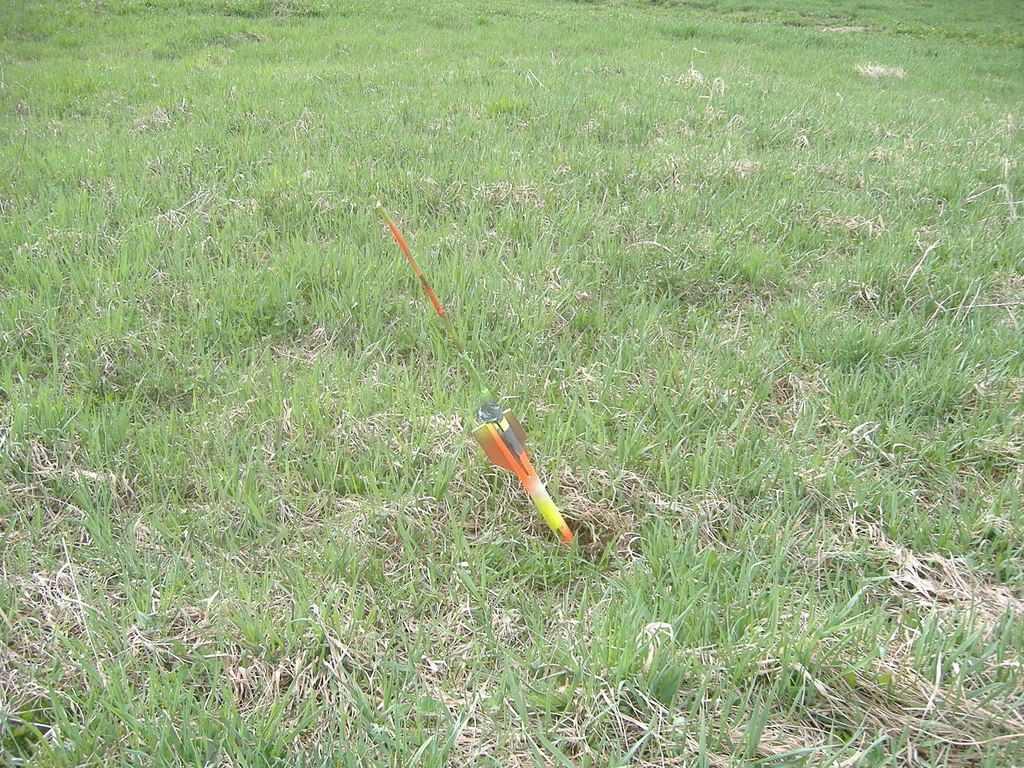
Ground eats rocket at 1800 feet.

Click for full album
Stats:
Chamber: 4" x 10' PVC 1510 cu in
Valve: Mk IV.5 Barrel-sealing 3" piston
Pilot: 1" modded sprinkler valve piloted by electrical 3/4" RainBird sprinkler valve
Pilot Volume: ~36 cu in
Barrels: 2.5" x 20' PVC 1180 cu in and 3" x 10' PVC 850 cu in
Operating Pressure: 40-100 psi
Ammo: Finned PVC rockets with metal tips
Stand: Bungee-dampened suspension system with boat winch to control elevation. This actually helps out tremendously when dealing with recoil (the muzzle energy is 4000 J at the LOW end) and after each shot it sways back and forth harmlessly, the bungees do a great job of absorbing the recoil. And a nice mahogany-cherry stain.
Performance: Maximum range of 1800 feet (conservative) at 70 psi using the 2.5" x 20' barrel. Ammo was 2' long .5" wide finned PVC rocket with metal pipe tip (using the electrical tape piston, which also broke the valve - see The Cannon Story). Without the taped piston, shots usually traveled about 1000 feet.
More Pictures:


This is the bulkhead, instituted starting with the Mk. IV valve to make the process of adjusting the inner sealing surface easier and just make the valve more accessible. This modular capability has helped SO much and has saved at least one rebuild, perhaps two.
http://s152.photobucket.com/albums/s161 ... CF1272.flv
Video: You can't see it, but you can probably hear the piston shattering the end of the valve.
Click here to view the rest of the album
The Cannon Story
What seems like an eternity ago, perhaps more like a year and a half, n00b and I started work on a large 3" porting piston cannon. We thought it would be a straightforward summer project. Two summers later, we're still straightening out bugs. But that's invention for you. Construction pretty much broke itself down into stages, the failure of each valve led to new innovations and different approaches.
Mk. I
Much of the cannon's bits were built at this stage. The 3" barrel, the chamber, the fill system, pilot (at the time just an electric 1" valve) all pretty much carried through the whole project. The compressor I had from a previous spudgun. Due to a lack of machining ability, we've always have trouble with two bits: The valve housing itself and the piston. We built it like a coax cannon with a Wye as the chamber, which extened into the rest of the chamber. We used a 3" endcap with neoprene surface as the piston. Mk. I flat out didn't seal.
Mk. II
Essentially the same design, used the same piston from before. Sealed to 10 psi on a good day, but leaked so terribly it essentially didn't seal at all. We made the mistake of painting this one before testing it. D'oh. It ended up as a combustion cannon
Mk. III
This valve we experimented with interior sealing surfaces (on the pipe exposed to the piston) This worked, actually very well, but we never glued down the sealing surface, and it kept shooting it after each shot, and each shot had to be completely reset. So we tried gluing it down. It stopped sealing. I tried to rebuild it by chiseling out the front end, ended up smashing the whole front end. We cut off the back half of it and used it on the Mk. IV.
Mk. IV
This was a radically different approach to valves from what we had been taking. I chose to make the entire front half removable, which added to the cost and complexity of the valve, but it saved far more effort in the long run. It allowed us to properly make a reverse sealing surface, which worked. Also, in this valve the pipe goes halfway through the opening of the Wye, allowing far greater airflow. We made a new piston using a coupler, LOTS of sanding, a 4" grind plate for angle cutters, a neoprene pot holder, and a pool noodle bumper. This valve worked through all pressure ranges, was repeatable, it was a godsend compared to what we were used to. We build the gantry, which gave the cannon its name, because it looks like an honest to god guillotine, and started to paint the valve. Crap...we might jinx it....so we decided to only paint half. In hindsite, even that was too much. This is also when we built the 20' barrel. We were getting 1000 feet consistantly, but the actuation time on the valve was HORRIBLE. It would vent out of the pilot for 1-2 seconds before triggering the piston. By then, only half the pressure made it out the barrel.
Mk. IV.4
We tried our hand at making an o-ring piston. It work for two shots, then de-laminated the grind wheel. So we went back to the old piston. This time we put one layer of electrical tape to serve as an o-ring. It worked amazingly well. Too well. On the maiden firing, the piston shot back and shattered the fill system. But it got 1800 feet (Google Earth said 1880 approx. using landmarks, so 1800 feet to be conservative) so we were happy. We rebuilt the fill system, went to do a damage shot, and ended up cleaving the entire back half of the valve off. This was at 50 psi. So it's back to the drawing board for Mk. V (always a lucky number for me, so who knows), but as it stands, top range 1800. Our next goal is 1/2 mile. We are going to go for a much lighter piston and smaller piston travel, this should help the issue of self-destruction.

Shattered fill system

Ground eats rocket at 1800 feet.
